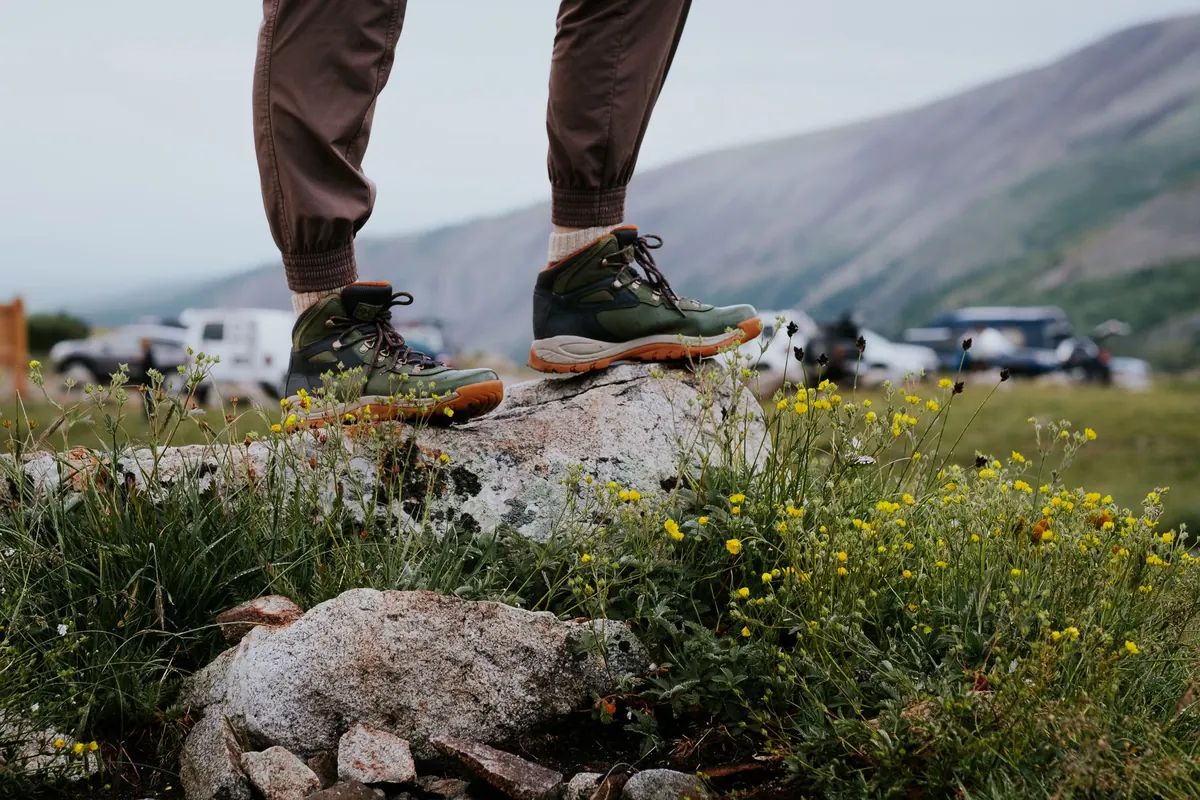
New hiking boots are a promise and a problem. The promise is years of support on rocky trails and long descents. The problem is that first outing, when stiff leather and a fresh midsole turn a five-mile walk into a heel-shredding ordeal. Breaking in boots isn't a mystery, though. It's mileage, patience, and a little planning.
Three weeks is plenty of time to soften a new pair and condition your feet to them, as long as you don't try to cram it all into one weekend. Here's how to structure those weeks, and what to do the moment a hot spot shows up.
Start With Fit, Because Break-In Won't Fix It
Before you log a single mile, be honest about whether the boots fit. Break-in softens the leather, molds the footbed, and teaches the upper to bend where your foot bends. It cannot make a narrow boot wide or shrink a boot that's half a size too long.
Lace them up with the socks you plan to hike in and check three things:
- Heel lock. Your heel should sit back in the heel pocket without lifting when you walk. A slipping heel is the number one cause of blisters.
- Toe room. With the boots laced, you should be able to tap your toes against the front without jamming. Walk down a slope or a set of stairs—if your toes slam into the front, the boot is too short.
- Width. The widest part of your foot should line up with the widest part of the boot, not ahead of or behind it.
Try boots on late in the day when your feet are at their largest, and wear the same sock thickness you'll use on the trail. If something pinches now, it will pinch worse at mile eight.
Week 1: Short, Slow, and Dry
The first week is about teaching the boots to flex, not about covering distance. Keep sessions to twenty or forty minutes and do them three or four times. Walk the dog, run errands, take the long way to the mailbox. Pavement is fine—it's gentle on the leather and lets you feel exactly where the boot rubs.
Lace snug through the midfoot so your foot doesn't slide forward, then tie off with a heel-lock loop if your boots allow it. At the end of every session, take the boots off and inspect your feet: heels, the tops of your toes, the ball of the foot. Pink is fine. Red and tender means something is rubbing, and you want to know that now rather than on a summit day.
If you stand on concrete all day at work, resist the urge to wear brand-new boots for a full shift. Long hours on hard floors are harder on your feet than a trail walk, and you'll have no way to stop and adjust if something starts to hurt.
Week 2: Add Hills, Weight, and Longer Miles
Now you can push a bit. Aim for three walks of forty-five to ninety minutes. Add elevation—a local hill, a stadium staircase, a park with roots and rocks—because climbing and descending work the boot in different places than flat ground does.
Carry a loaded daypack on at least one of these walks. A modest load of ten to fifteen pounds is enough to change how the boot presses into your foot, which is exactly the pressure it will see on a real hike. This is also the week to test your sock system: try a thin liner under your hiking socks on one walk and compare how your feet feel.
Keep the boots dry this week. Repeated soakings dry out leather and can leave it cracking and stiff rather than soft, so save the mud for later.
Week 3: Dress Rehearsal
Week three is where you build confidence. Plan two or three hikes close to the length and terrain of your real objective, wearing all your actual gear—pack, socks, insoles, gaiters, the lot. If you can hike on back-to-back days, do it; day two feet behave differently from day one feet, and you want to learn that at home.
Include a long descent on purpose. Downhill puts the most shear force on your heels and jams your toes forward, and it's where most blisters are born.
By day eighteen or so, you should be able to finish a hike of your target distance with warm feet and no raw spots. If the same blister keeps forming in the same place, stop blaming the break-in. That pattern points to fit, lacing, or socks, and it's worth taking the boots to a shop that can assess them.
Blister Prevention: The Details That Matter Most
Socks
Wool or synthetic, never cotton. Cotton holds moisture against your skin and turns a minor rub into a blister fast. Avoid socks with thick seams over the toes or heel, and if your feet sweat heavily, carry a spare pair and change at lunch.
Lacing
Your feet swell over the course of a hike and your boots loosen as they warm up. Re-tie once or twice a day. When a boot starts to feel sloppy, that slack is where a heel blister starts.
Foot care and kit
Trim toenails straight across a day or two before you hike. Treat known trouble spots before they complain—tape a heel that blistered last season rather than waiting to feel it. A small kit weighs almost nothing:
- Leukotape or athletic tape
- Two spare pairs of socks in a zip bag
- Anti-chafe balm or petroleum jelly
- Hydrocolloid or blister bandages
- Nail clippers and a small pair of scissors
When you feel a hot spot, stop. Not at the next junction—now. Thirty seconds of tape prevents a week of limping, and a hot spot takes a long time to turn into a blister compared to how quickly tape shuts it down.
What Not to Do
- Don't soak boots and wear them wet until they dry. This old trick can distort leather, weaken cemented soles, and leave you with blisters from the damp.
- Don't use heat. Ovens, hairdryers, and heat guns damage leather and the glues holding the boot together.
- Don't save a brand-new pair for the trip. Even if they feel great in the store, they haven't bent the way your foot bends yet.
- Don't hike through real pain. Soreness is normal; sharp pain, numbness, or a foot problem that persists is worth a conversation with a podiatrist or your doctor.
The Last Few Days Before Your Hike
Once the boots feel good, ease off. Do a short walk two days out, then rest your feet completely the day before. Clean and condition the leather if the manufacturer recommends it, check that laces and insoles are in good shape, and pack your blister kit somewhere you can reach without taking off your pack.
Then lace up, start slow, and let the first mile be the warm-up it's meant to be. Your boots are ready. So are your feet.
Photo: Evelyn Hale / Pexels