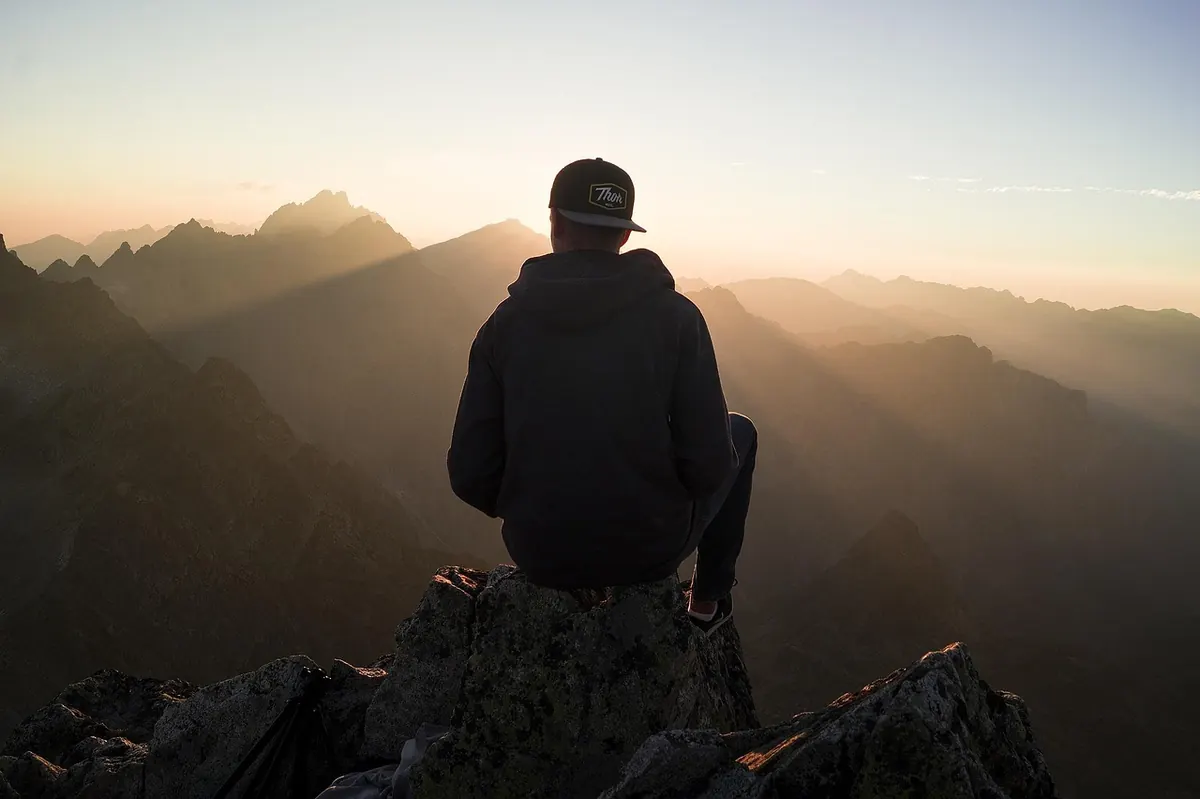
Two hikers start up the same ridge on a 25°F morning. An hour later, one is peeling off a shell and stuffing a fleece into her pack, comfortable in a light base layer. The other is soaked through, shivering on a snack break, and wondering what went wrong. Nothing went wrong with their fitness. Something went wrong with their layers.
Cold-weather hiking isn't about owning the warmest jacket. It's about managing heat and moisture in small, adjustable steps as your body and the terrain change. That's what the three-layer system is for.
The Three Layers and What Each One Actually Does
The system is simple once you separate the jobs. A base layer moves sweat away from your skin. A mid layer traps warm air around you. A shell blocks wind and precipitation so the other two can do their work.
- Base layer: sits against your skin, wicks moisture, dries fast.
- Mid layer: insulation. Fleece, synthetic fill, or down.
- Shell: a wind and water barrier you can open and close.
Three is a concept, not a uniform. On a mild winter day you might wear two layers total. On a windy summit in the teens, you might wear a base, two thin mids, and a shell. The point is that every piece can come off or go on without a full costume change.
Base Layer: The One You Never Notice
If your base layer fails, nothing above it works well. Cotton is the classic mistake here: it soaks up sweat, holds it against your skin, and pulls heat out of you the moment you slow down. Leave the cotton t-shirt at home.
What to look for
- Merino wool: warm, naturally odor-resistant, comfortable across a wide temperature range. Slower to dry than synthetics and pricier.
- Polyester or poly blends: dry fast, move sweat quickly, inexpensive. Some versions get ripe after a couple of days.
- Fit: snug enough to stay in contact with your skin, loose enough to move. Bunching under pack straps causes chafing.
- Weight: light for hard climbing, midweight for cold, low-output days.
On any hike long enough to work up a real sweat, pack a spare base layer in a dry bag. Changing into a dry shirt at a lunch stop is one of the biggest comfort upgrades you can carry for a few ounces.
Mid Layer: Your Adjustable Furnace
The mid layer is where most of your fine-tuning happens, so think in two weights rather than one thick piece. Two thin layers give you three settings — one, the other, or both — while a single heavy jacket gives you one.
Fleece is the workhorse for moving. A light grid fleece breathes well, handles damp conditions, and dries fast. It isn't very wind-resistant, which is exactly why the shell exists.
Synthetic insulated jackets keep some warmth when damp and are a solid choice for wet snow or uncertain weather. Down is warmer for its weight and packs smaller, but it loses most of its loft if it gets soaked — great for dry cold, less forgiving in a steady drizzle.
A full-zip mid layer is worth the extra few grams. You can vent it without pulling it over your head while wearing a pack, and you can open it wide at a rest stop instead of stripping down.
Shell: Wind Is the Sneaky Thief
Most hikers obsess over rain and ignore wind. On an exposed ridge, wind strips warmth far faster than temperature alone suggests. A shell that cuts wind makes a modest mid layer feel like a much warmer jacket.
Softshells are breathable and wind-resistant, shed light snow and drizzle, and move well. They're ideal for dry, cold, windy days and for climbing.
Hardshells are fully windproof and waterproof. They're less breathable, so look for pit zips or large chest vents, and use them. The common failure is wearing a hardshell all day because it's "the outer layer" — you end up clammy inside a waterproof bag.
Size matters too. A shell should fit over your mid layers without compressing them. Squashed insulation traps less warm air, so a tight jacket can actually feel colder than a looser one.
The Rest of the System: Hands, Head, Feet
Your extremities are where cold hits first, and they're also the easiest places to adjust.
- A warm hat and a neck gaiter are worth more than an extra torso layer for many people.
- Thin liner gloves for moving, warmer gloves or mitts for stops. Carry a spare pair; wet gloves end hikes early.
- Wool or synthetic socks, sized so your toes aren't cramped. Tight socks restrict circulation.
- Gaiters keep snow out of your boots and add real warmth on deep days.
When to Add or Shed Layers on the Trail
The skill isn't knowing which layers to buy. It's knowing when to change them. A few habits cover most situations.
- Start slightly cool at the trailhead. You'll be warm within ten minutes of walking. If you're cozy standing in the parking lot, you're overdressed.
- Adjust before you sweat. The moment you think "I'm getting warm," take something off. Soggy layers are hard to recover from.
- Strip before the climb, layer before the break. Remove your mid layer at the base of a long ascent, and add it back before you stop for lunch, not after you start shivering.
- Use zippers first. Pit zips, the main zip, cuffs, and an open hood are micro-adjustments that cost you no time.
- Treat head and hands as dials. Hat off for a climb, gloves on for a descent.
- Put the shell on early. When rain or wet snow starts, cover up before your base layer gets damp.
Cold hikers make poor decisions. If someone in your group is quiet, clumsy, or fumbling with simple tasks, stop, get them into dry layers, and give them food and something warm to drink.
Build a System You've Actually Tested
Before you trust your layers on a big trip, wear them on a short local hill in similar conditions. You'll learn how much you sweat on a climb, whether your shell fits over your mid layers, and where you naturally run hot or cold.
Pack with that knowledge: dry base layer in a stuff sack, mid layer where you can reach it, shell in the lid or on top, gloves in a pocket you can open while wearing a pack. Then trust your own thermostat over anyone's gear list.
Cold-weather hiking carries real risks, from hypothermia to frostbite. If you have a health condition that affects your circulation or how your body handles temperature, check with a doctor before heading out in serious cold, and consider taking a winter travel or avalanche safety course before committing to bigger terrain.
Photo: Castorly Stock / Pexels